
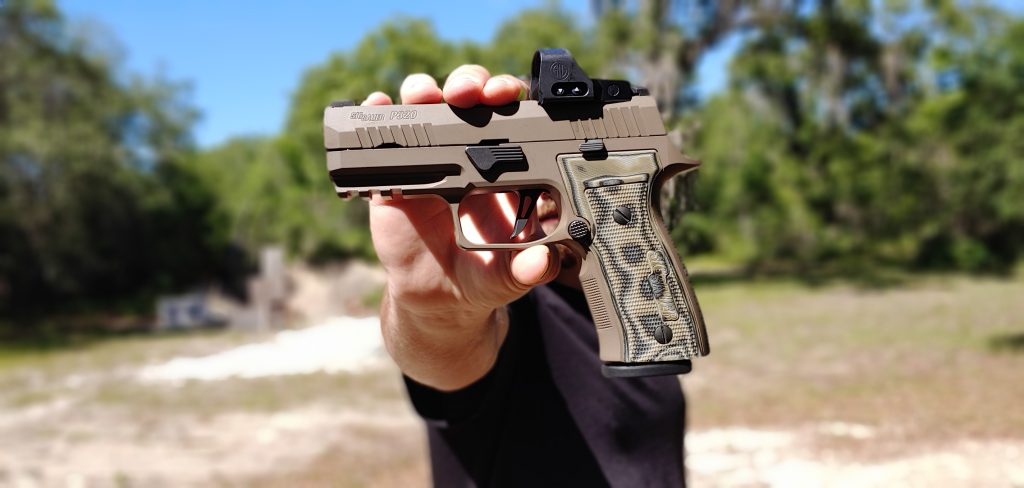
Red dots on handguns are here to stay. Even some of the smallest guns can now wear dots. If you had told me a decade ago that my subcompact 9mm handgun would be wearing a red dot, I would have “yeah righted” you so hard. Current me is happy that the old me was wrong. Red dots and handguns are quickly becoming as standard as Picatinny rails on handguns. It’s another accessory that adds to your weapon’s capabilities. That is, if you know how to use it.
The first step in learning to use the dot is learning how to zero a handgun red dot. It’s an optic, so having it properly set up is the key to its success. Zeroing a red dot on a rifle is typically pretty easy. Most of us look for a happy medium to give us consistent performance in both moderate and long ranges. The classic 50/200 zero for the AR comes to mind.
With handguns, we don’t quite have that easy standard of performance. There can be a little more to it than finding the right range and zeroing. We do need an appropriate range, but we also need a little more know-how to get things running right for the majority of shooters.
Lock-Down the Optic
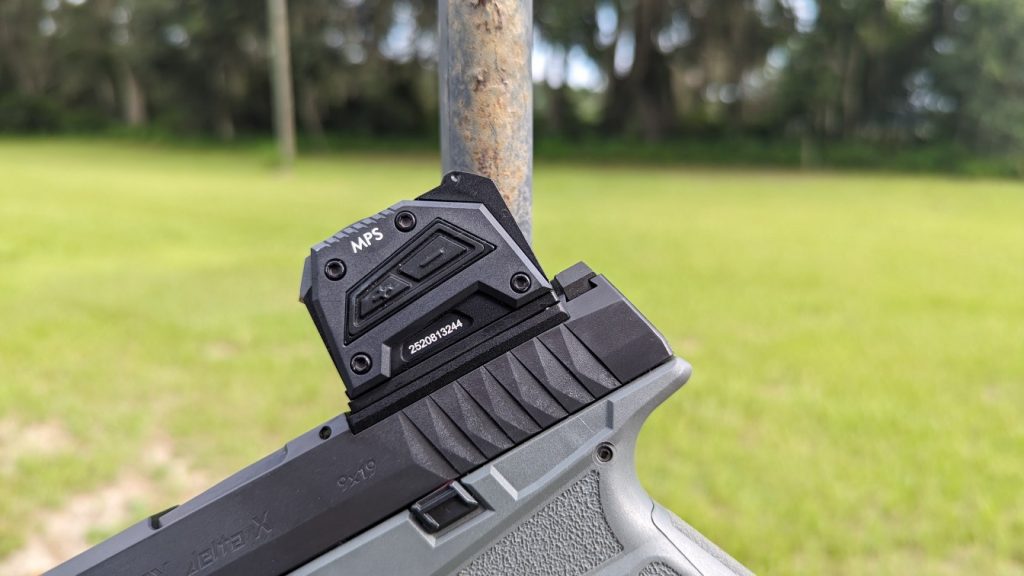
Inside the box with your optic will be an assortment of papers stapled together. This may seem odd, and you may have never read one before, but that’s your instruction manual. It’s pretty handy. Inside it, you will find the correct mounting specifications for your red dot.
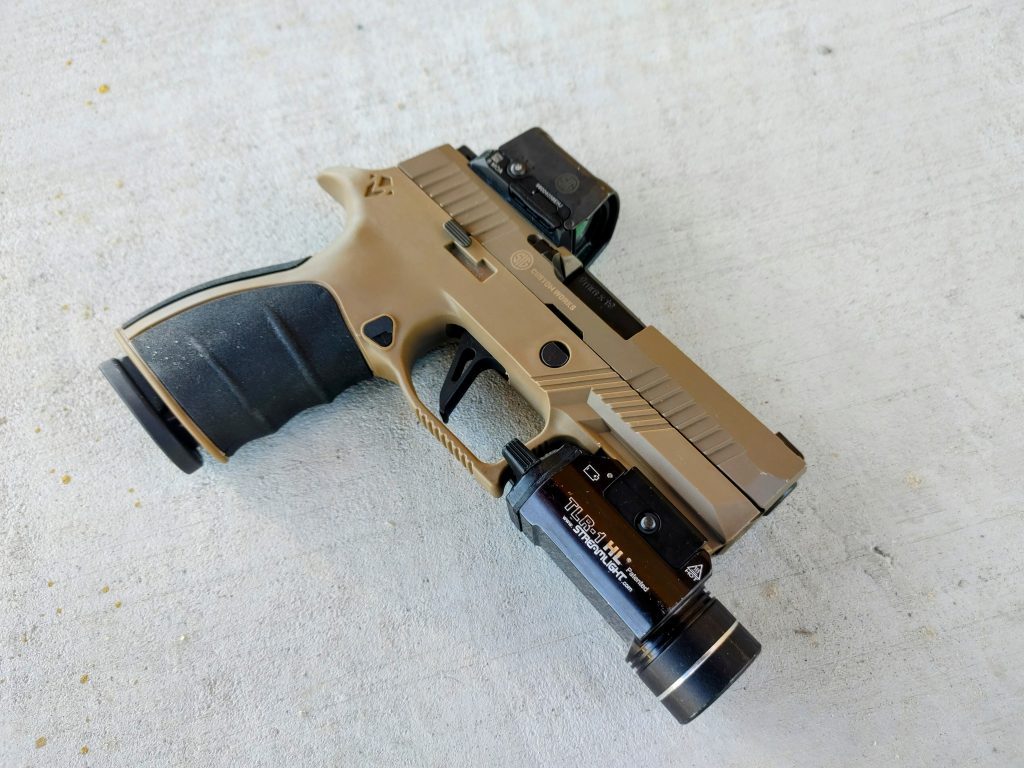
This includes the appropriate foot-pounds of torque required to secure the optic. You’ll want to know that and likely want to get some form of torque wrench. Wheeler makes one that’s pretty good for optics. Additionally, you’ll want to blue Loctite those screws.
We want to torque the optic just right alongside the Loctite to ensure it never comes loose. When an optic comes loose, your zero shifts significantly, so proper installation is our first step in zeroing an optic.
What Not to Do
Before we hang up targets and load mags, let’s talk about what we aren’t going to do. We are not going to leave our dot to the iron sights. A lot of people have figured out it’s awfully easy to ‘zero’ their optic by just moving the dot to align with the iron sights! Simple, right?
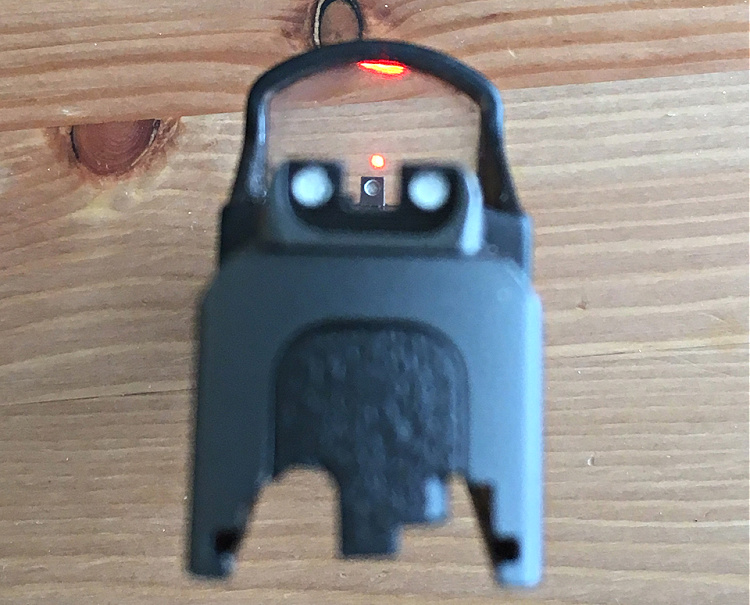
Well, no, not really. You’ve just made your red dot an expensive front sight. When you slave your dot to the iron sights, you are giving up the key capability of the dot, and that’s speed and longer range potential. When a dot is in line with your iron sights, you have to acquire the same iron sight picture that’s slow and silly with a red dot. Plus, the front sight is now blocking your view of the target, taking away your range advantage.
These are two separate sighting systems and should be treated as separate sighting systems.
To the range. But what range?
There are lots of arguments about what range you should zero your red dot at. Handguns are different from rifles, and admittedly, most handgun ranges aren’t going to need you to account for ballistics and bullet drop. Lots of defensive encounters occur at seven yards or less, so one could argue a seven to ten-yard zero is good enough.
Others might take the 15 or 20-yard ranges into account. I tend to like the fact that shooting at longer ranges is easier with red dot-equipped handguns. I want that extra range, and I would like a zero at 25 yards. That seems extreme for a handgun, but it works perfectly fine up close and far away, so why not use 25 yards?
The 25-yard zero at extremely close ranges doesn’t take me too far off target. For practical purposes, it’s not going to take me out of the A-zone of an IPSC target. A 25-yard zero can even take me out to 75 yards with a little compensation. Finally, most handgun red dots use a 1 MOA measurement for adjustments, and at 25 yards, every four clicks is one inch. It’s just simpler than something like 9/20 of an MOA per click.
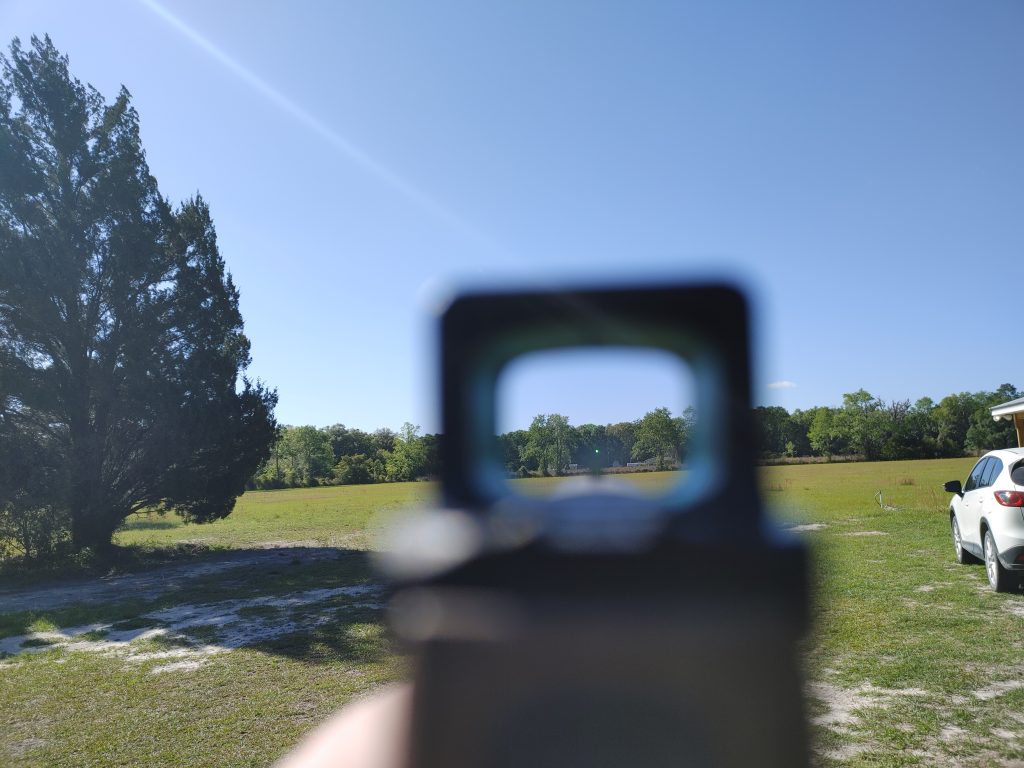
Before you zero, also dial down the brightness of the dot as much as you can. It should be barely visible. Brighter dots tend to be ‘bigger’ dots, and we want as much precision as possible, so make the dot dimmer to make it ‘smaller’ or seemingly so.
Finally, Let’s Starting Zeroing
Before we zero, let’s get a rest of some kind. I use a mini work table I can haul around easily and usually pair it with a backpack I use as a rest. This allows you to shoot with the most precision possible. A lot of shooters aren’t quite skilled enough to make a tight group at 25 yards, so a rest allows you to increase your precision. Without a tight group, you can’t make meaningful measurements.
We’ll talk about offhand shooting a bit more later.
I also tend to start my zero at ten yards. It might sound crazy, but I like to make sure I’m at least on paper. I set up at ten yards and make sure I’m on paper. If I am, I go back to 25 yards. If not, I dial in on paper. Don’t get too wrapped up in this initial zero. It just needs to be on paper and somewhat close. I fire three rounds, observe, make adjustments, and fire again till I’m on paper and maybe ‘in the black’ of the target.
After I know I’m on target, I mark my shots and then haul myself and my gear to the 25-yard line. I get a good, rested position and sight in. I take my time and practice that good, solid grip on the gun. Your grip means more than your trigger pull when it comes down to repeatable accuracy.
I do the classic fire three: observe, mark, and adjust. This means lots and lots of walking, but hey, sitting is the new smoking, or so they say. I measure and try to adjust perfectly. Knowing that each click is a quarter-inch of movement makes the adjustments simple.
I do that until I’m hitting where I need to be hitting.
Post Zero Testing
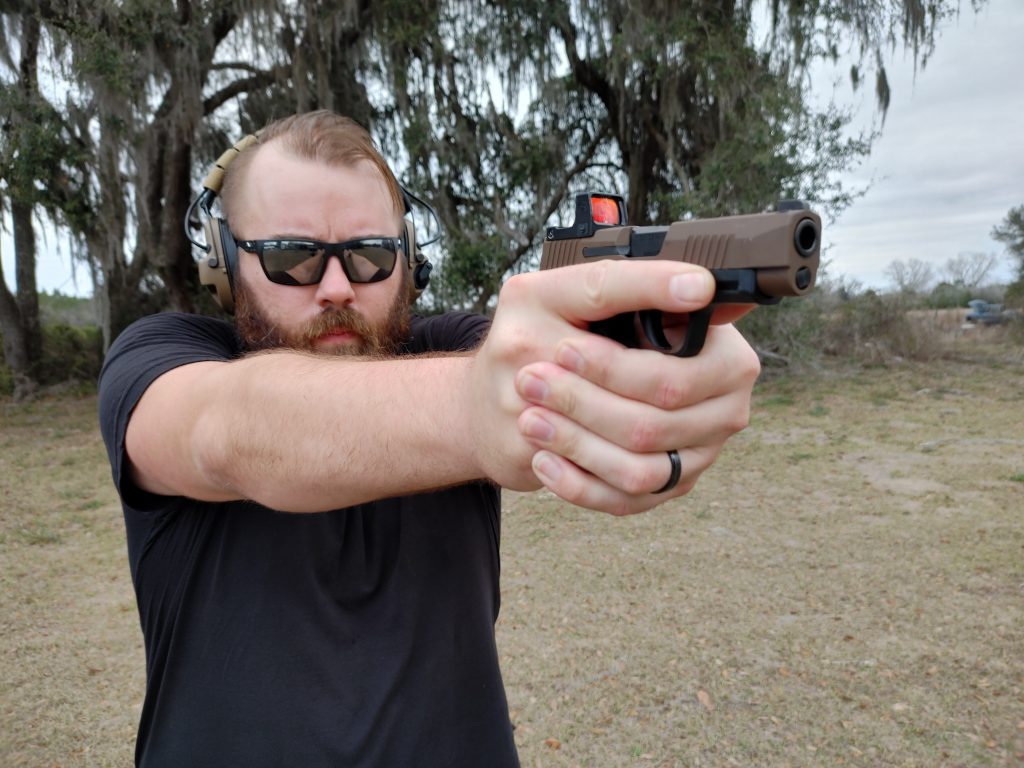
Once we have our rested zero, it’s smart to test it from an offhand shooting position. At this point, I like a nice big target. I use an IPSC-sized A zone target, which is a 6×11-inch target, more or less. It’s big, and even at 25 yards, it’s pretty easy to hit. I set this up and shoot for confirmation. Can I land my shots inside the A-Zone?
I look for trends. If my group is entirely low in the offhand, I might need to diagnose my own shooting and make a fix. I also might just dial it up a bit to compensate for that problem until I figure out what I’m doing wrong and how to fix it. I know once I start shooting high consistently, I’ve fixed the problem.
I’d also recommend shooting at 20, 15, 10, and 5 yards to see where your dot puts you and to really know how your system works at all ranges. If your skill allows it, take the gun out even further and see what your red dot zero can do at 50 yards.
Red dots are very valuable tools, and like most tools, they require training and practice to use. I’d always advise you to seek out a little red dot-oriented training from someone like Scott Jedlinski or Steve Fisher. These guys are very experienced and know the dots inside and out. The difference between a carpenter and a guy with a hammer is knowing how to use your tools.
The post Zeroing Your Pistol Red Dot: A How-To appeared first on The Mag Life.
Read the full article here


